Welcome to Klipboard! Your intelligent clipboard manager. Klipboard helps manage all of your copied clippings for easy access. It will help you stay organized and improve your productivity.
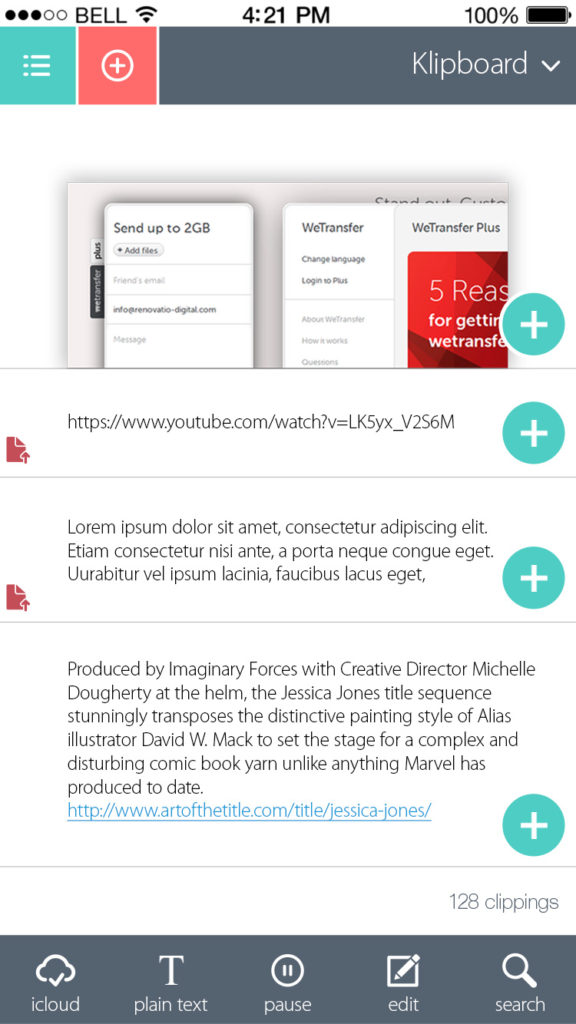
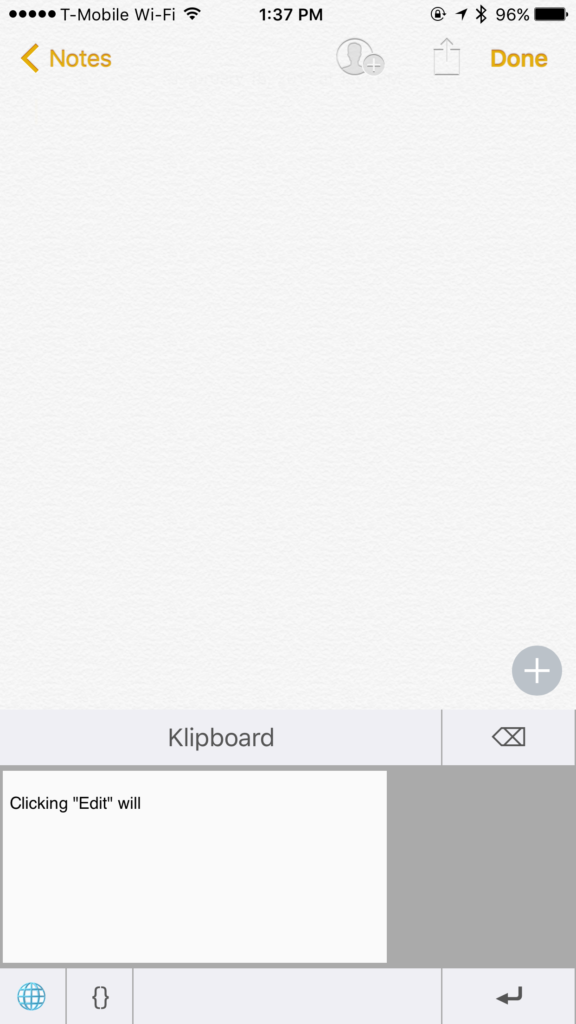
The “+” buttons will allow you to copy your clipping onto your clipboard. You will be able to paste this wherever you want.
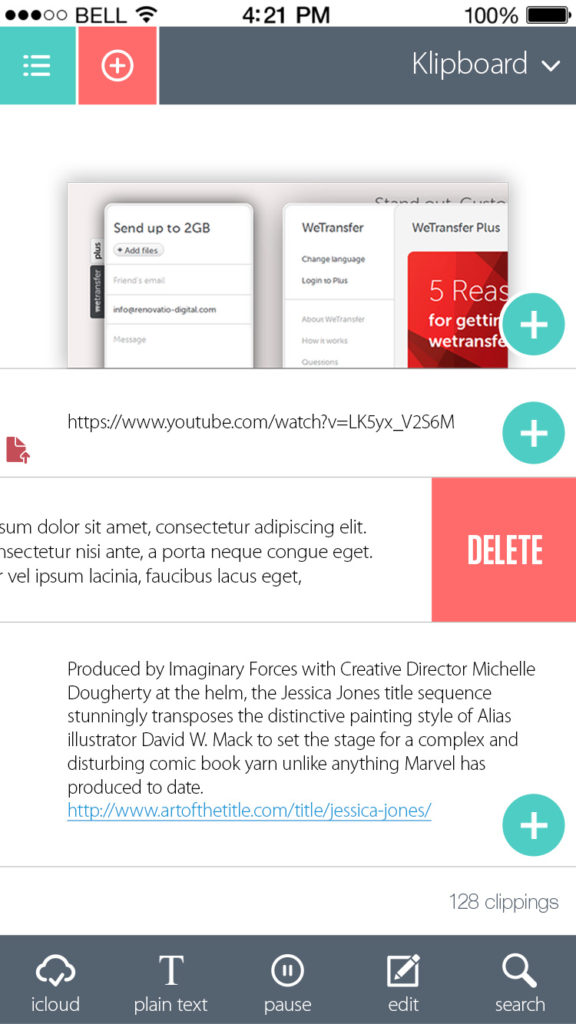
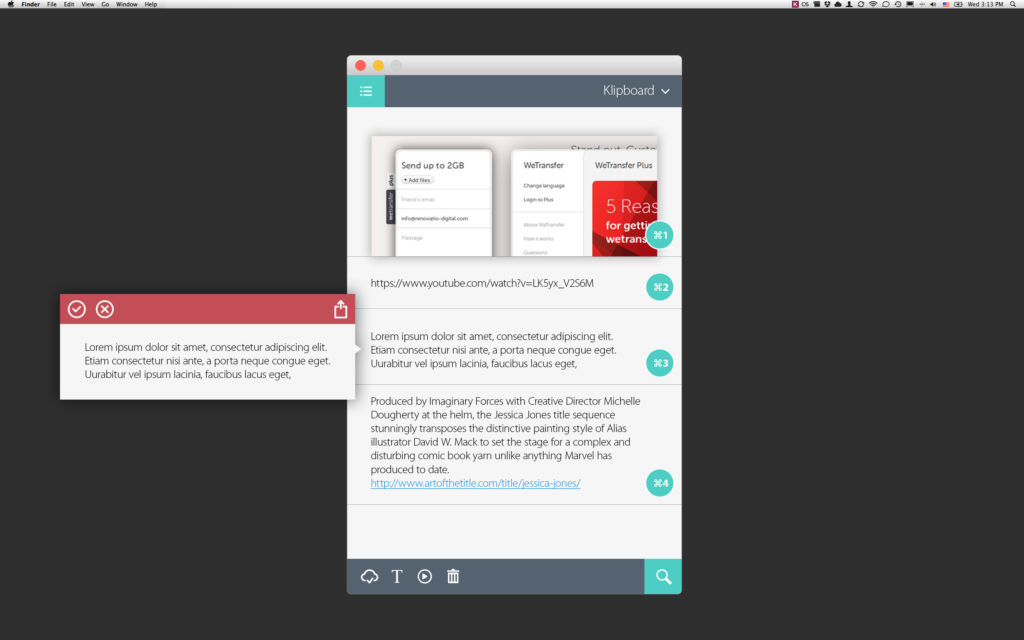
Swipe left to delete a clipping.
You will also notice 5 options in the menu bar below.
- iCloud – This will sync your clippings on to iCloud and all the devices connected to your iCloud account with Klipboard installed (e.g. your Mac, iPod, iPad, other iPhones)
- Plain Text – This will switch to plain text mode and won’t copy fonts face, type, size, etc.
- Pause – This will pause saving to your Klipboard. When you don’t want to save certain items to your Klipboard.
- Edit – You can edit any of your clippings.
- Search – This is useful when you have hundreds of clippings to search through.
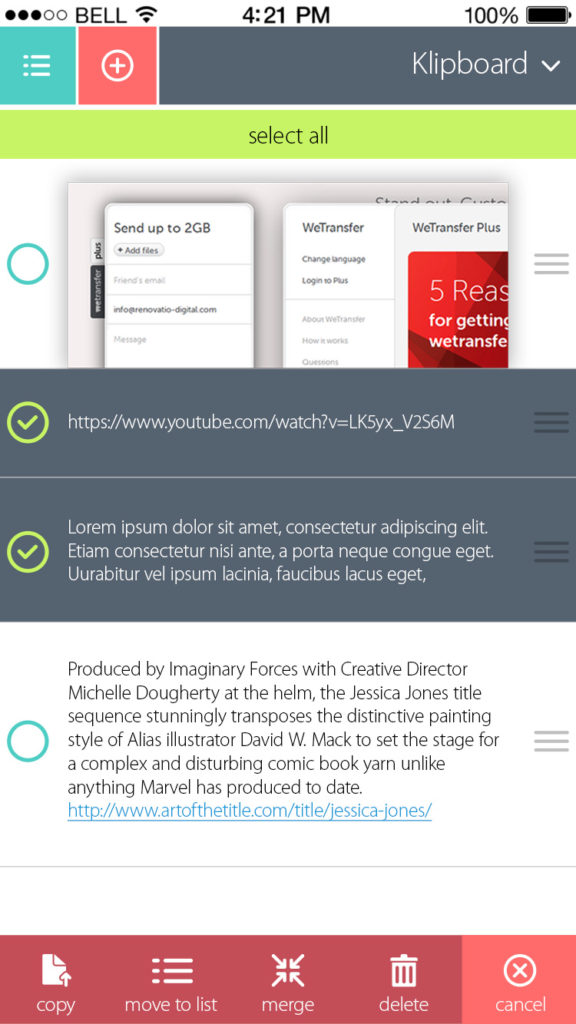
Clicking “Edit” will allow you to edit any of your clippings. You can also select multiple clippings to move to a list for organization or even merge them into one single clipping.
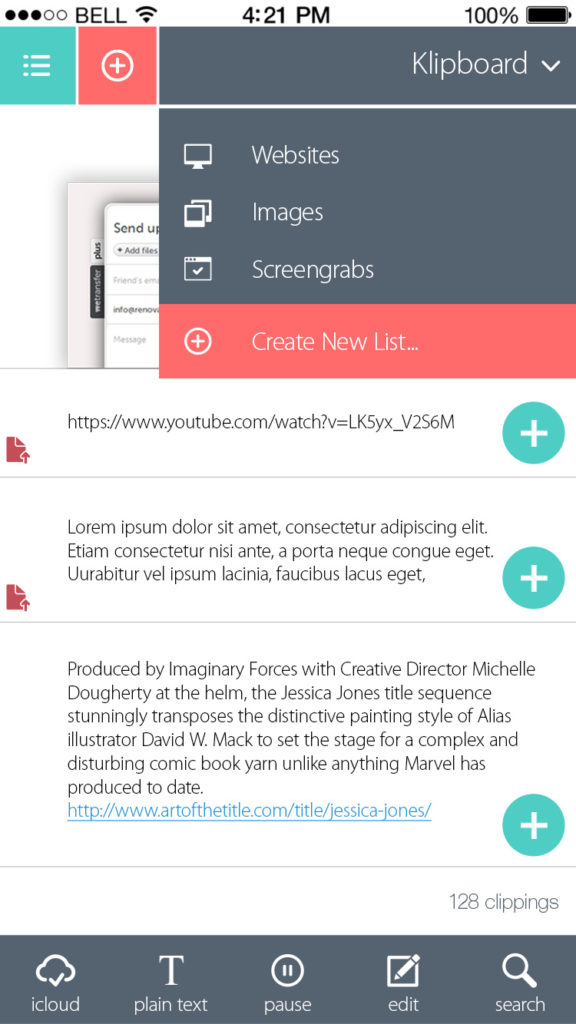
The pulldown menu at the top right will show you the different default lists available. By default, we organize your current clippings into websites and images. Navigate back to the “Klipboard” root list to view all of your clippings together. You can “Create New List” to stay organized and create custom lists for specific related clippings.
How to add and use your Klipboard keyboard
Go to your iOS settings -> General ->Keyboard -> Keyboards -> Add New Keyboard… -> Klipboard
This will add your Klipboard keyboard to your current selectable keyboards.
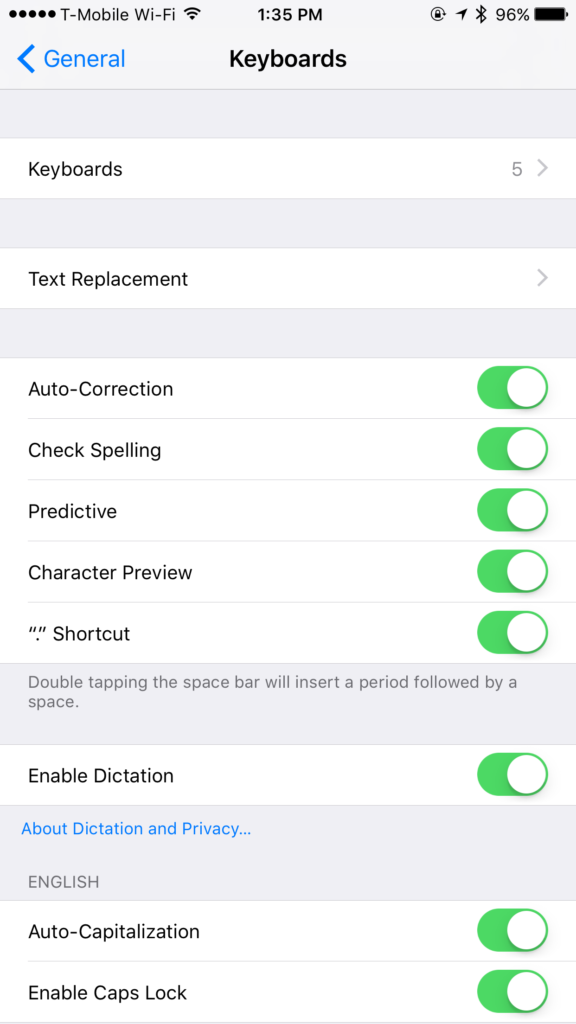
You will now be able to easily access your Klipboard from your keyboard and insert any of your clippings.
Hope you found this helpful! Let us know below, so we can improve our support. 🙂
Welcome to Klipboard! Your intelligent clipboard manager. Klipboard helps manage all of your copied clippings for easy access across all of your iOS and Mac devices. It will help you stay organized and improve your productivity.
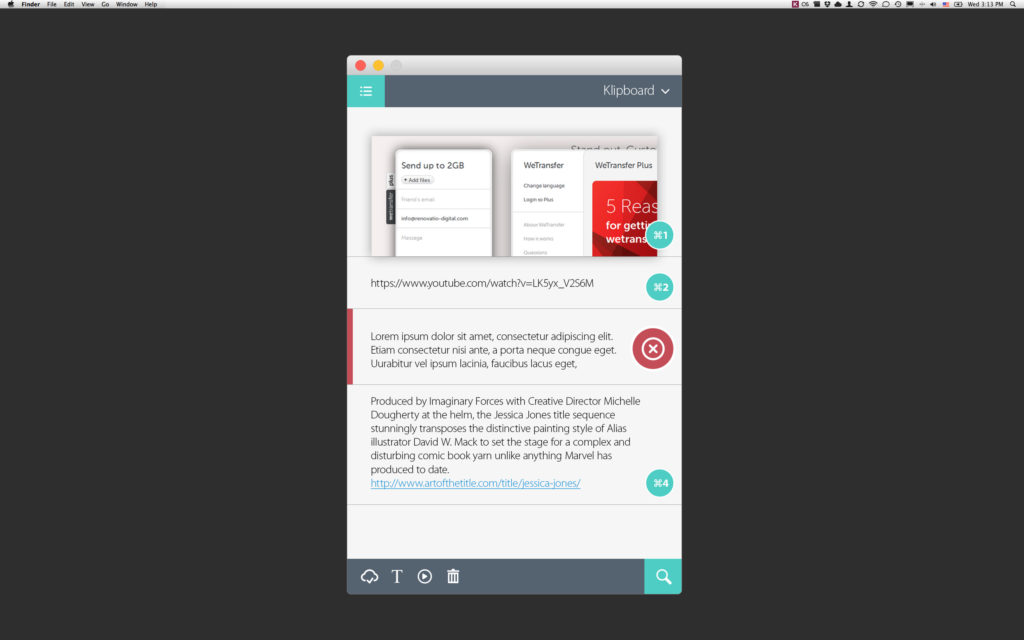
Below is the introduction overlay you see when you first open Klipboard on macOS.
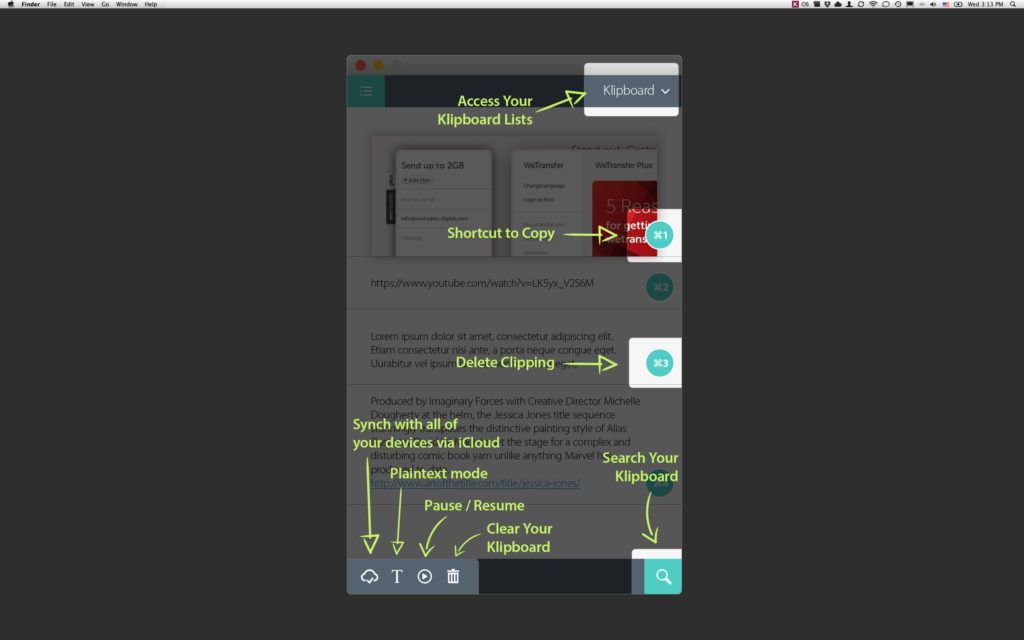
Let’s start from the top with “Klipboard Lists”.
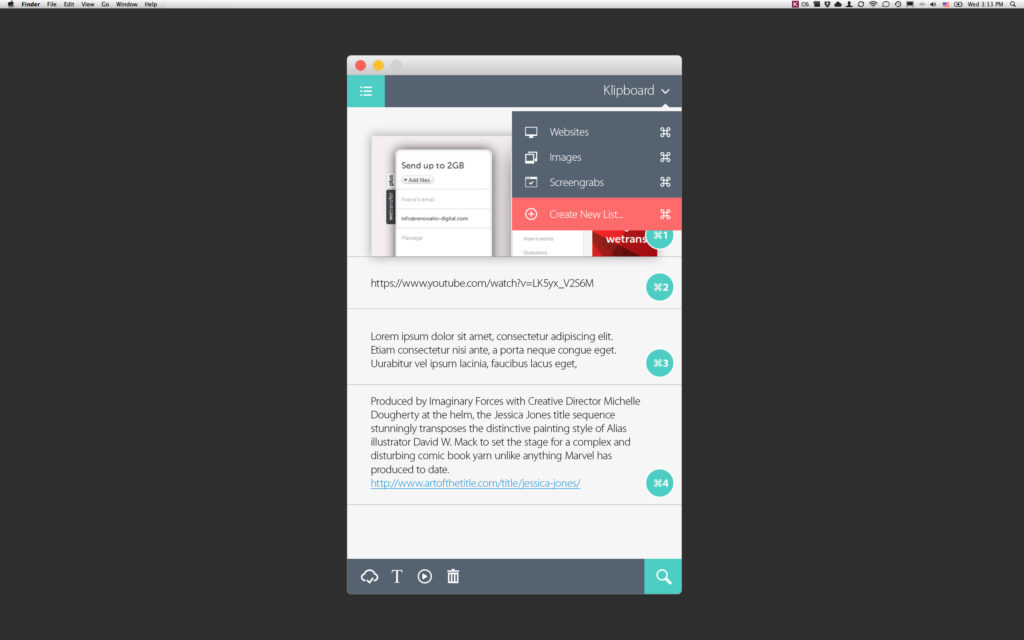
You default root list is the list titled “Klipboard”. Here you will see all of your clippings. Default pre-set lists include images and websites. You can choose “Create New List” to create new category lists to organize your other clippings.
On the main screen, you will notice the shortcut keys on the right-side. These shortcut combinations allow you to easily copy these saved clippings onto your current clipboard. Right click to delete or edit any clipping.
You will also notice 5 options in the menu bar below.
- iCloud – This will sync your clippings on to iCloud and all the devices connected to your iCloud account with Klipboard installed (e.g. your Mac, iPod, iPad, other iPhones)
- Plain Text – This will switch to plain text mode and won’t copy fonts face, type, size, etc.
- Pause – This will pause saving to your Klipboard. When you don’t want to save certain items to your Klipboard.
- Clear – This will completely clear and delete all of your clippings from your Klipboard.
- Search – This is useful when you have hundreds of clippings to search through.
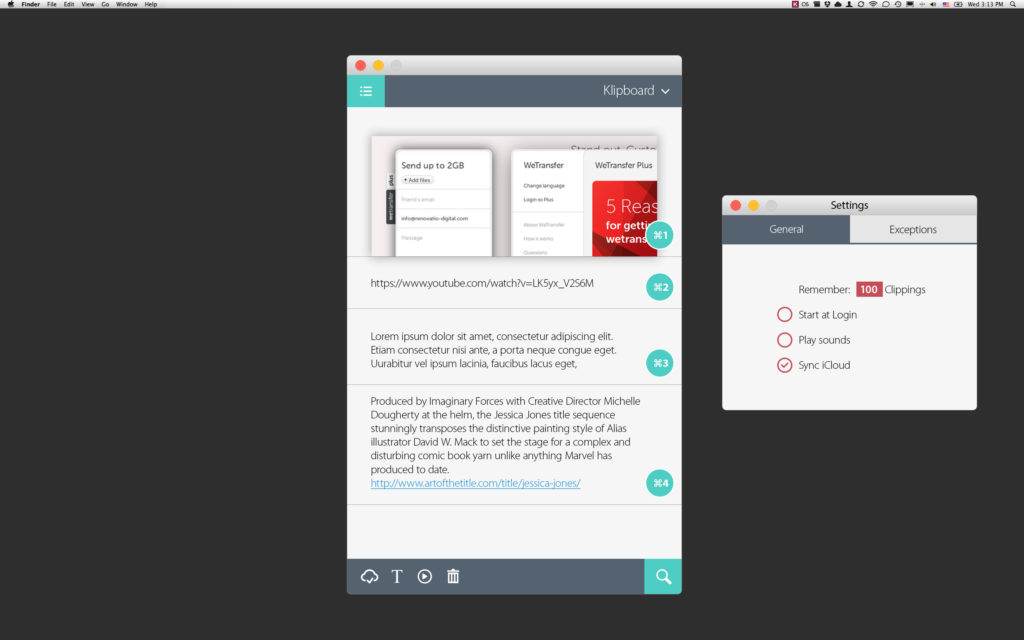
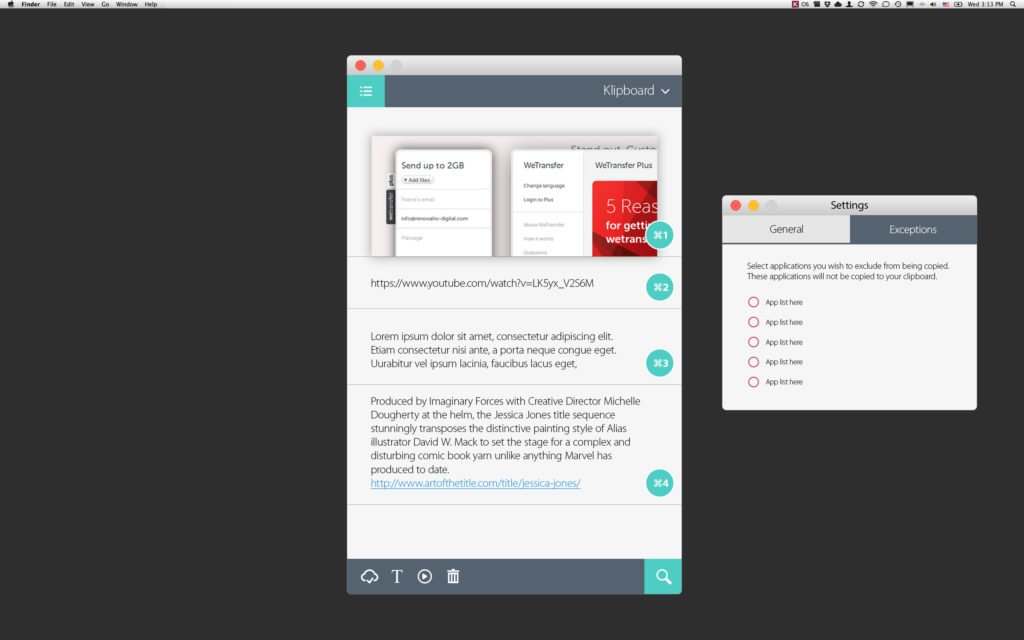
Settings will allow you to edit how many clippings to save and also access “exceptions”. “Exceptions” is our blacklist where you can exclude any private apps where you do not wish to copy sensitive information onto your Klipboard.
Hope you found this helpful! Let us know below, so we can improve our support. 🙂